|
|
|
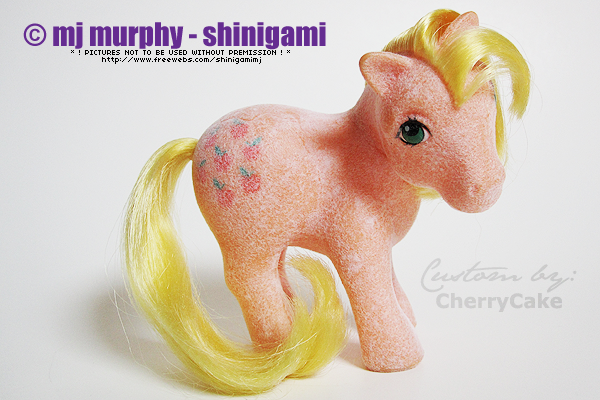
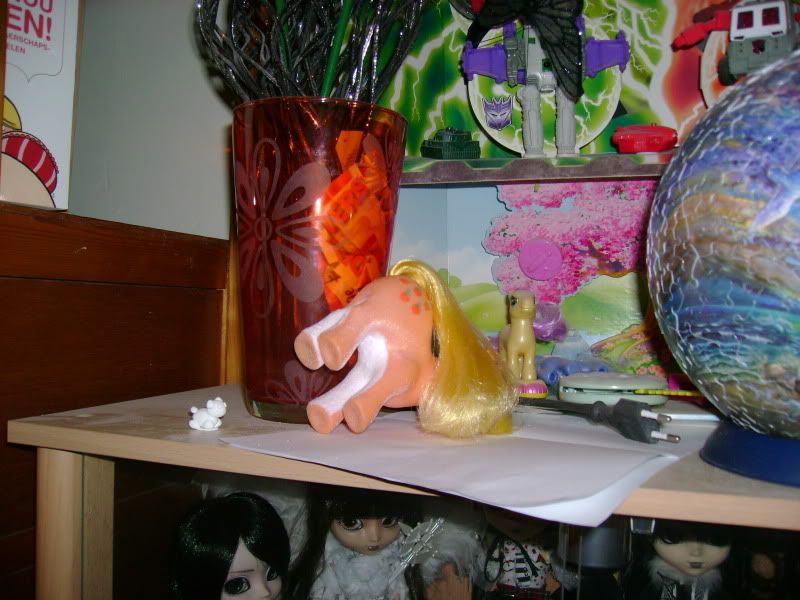
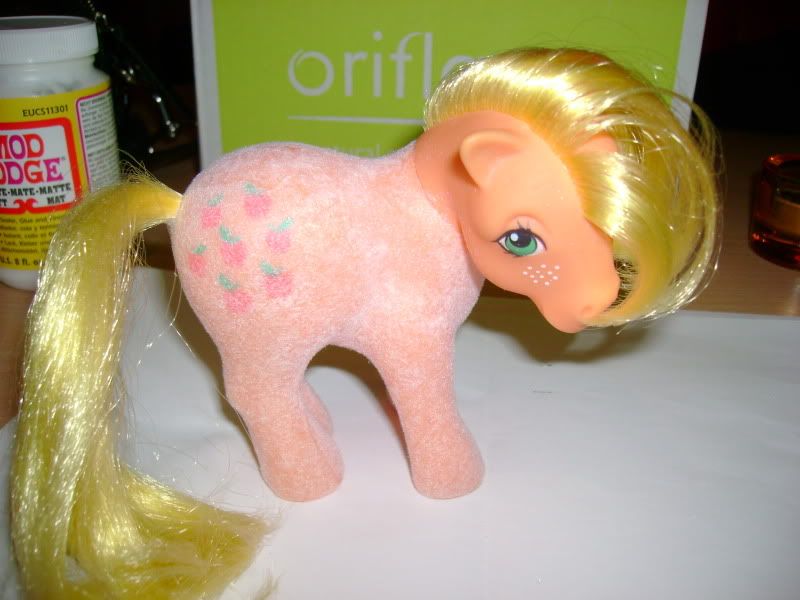
So Soft-ifying Applejack, commission for Shinigami (MLPArena)
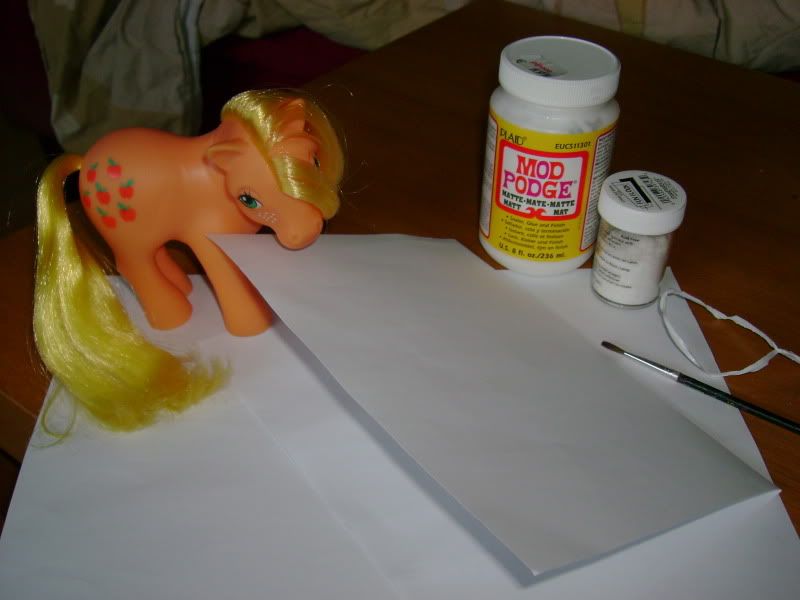
1. Things you need: a pony to sosoftify, flat A4 paper, folded in half A4 paper,
sealer (I use Mod Podge),
Stampendous Fun Flock (for So Soft look use Cotton Ball White), paintbrush and
an elastic or iron wire.
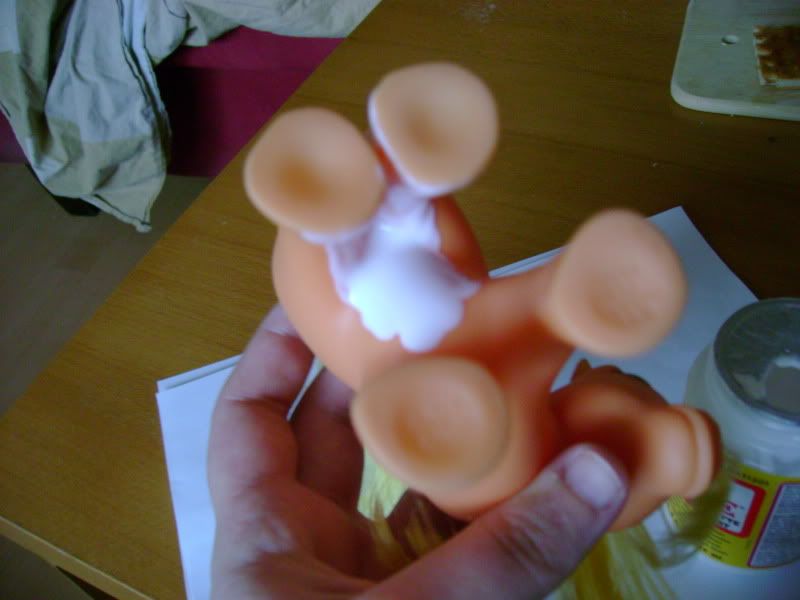
2. We start the process at the bottom since it's hardest to reach and you don't
want to mess with good flocking at the end.
Put a thick layer of sealer on your pony. Try to follow the natural lines of the
body to hide seams of the patches you will make.
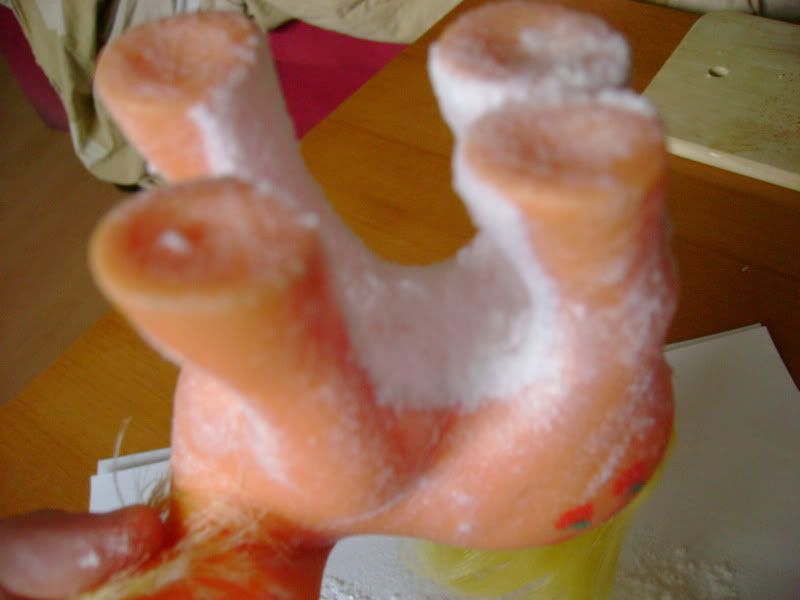
3. Dump a whole lot of flocking on the wet sealer. Make sure you do this above
your folded in half A4 paper while it's folded out.
Tap your pony in a dry place to make sure you cover the edges.

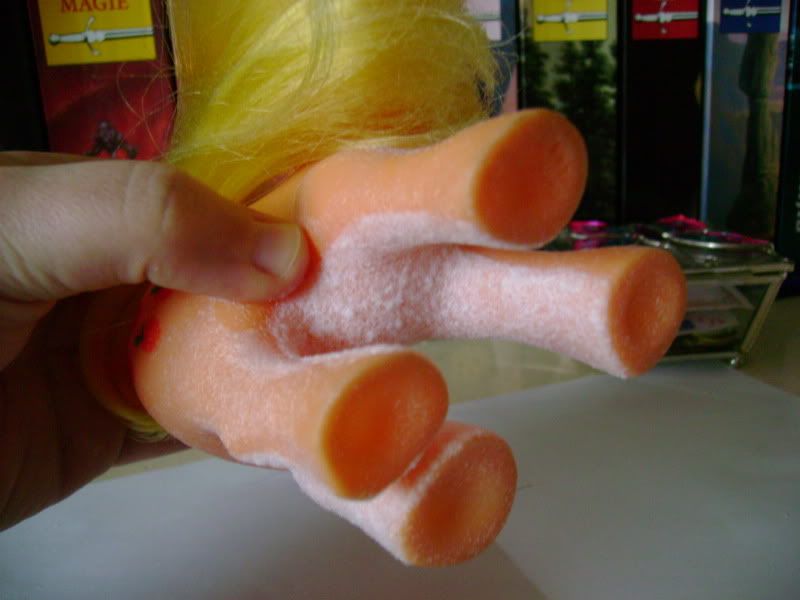
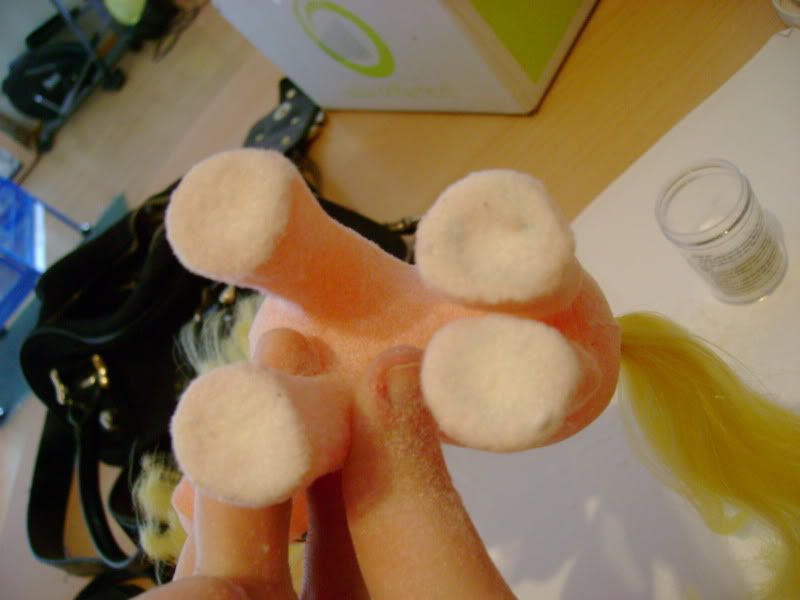
4. Turn your pony over and shake slightly the remove most of the excess
flocking.
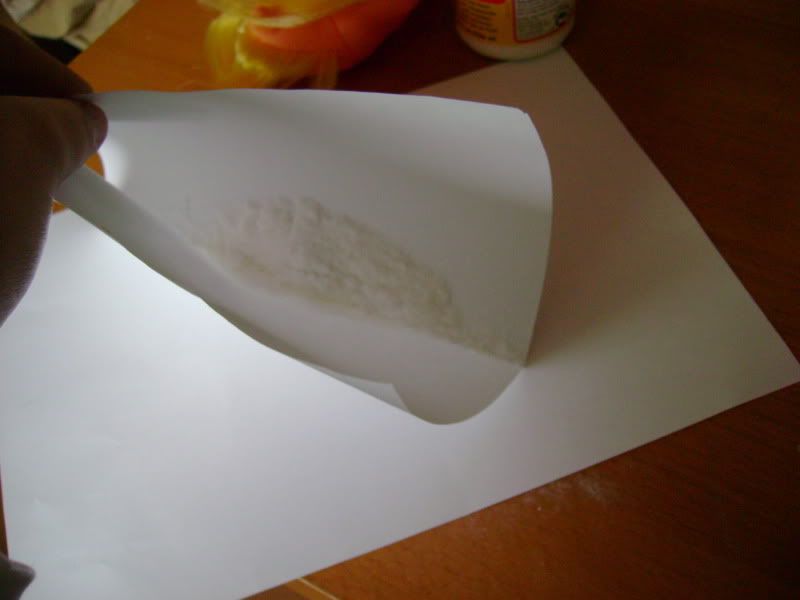
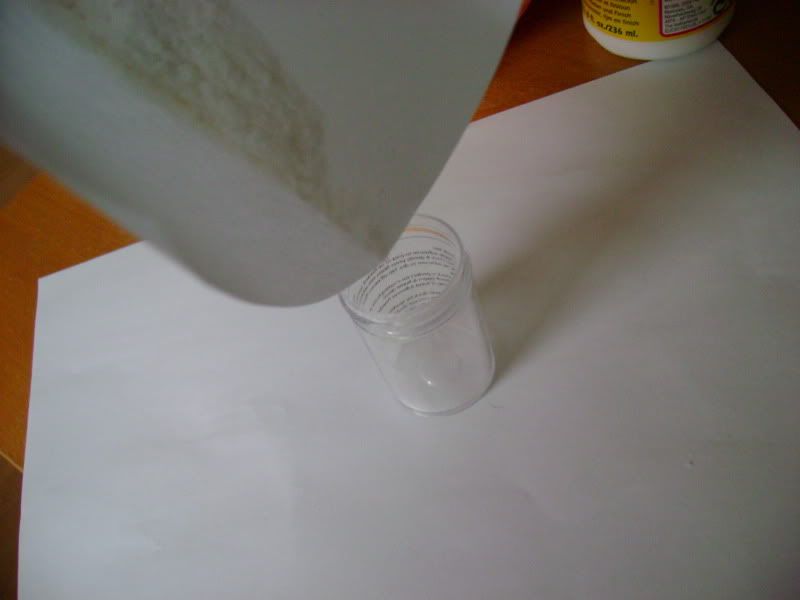
5. This is why the A4 paper should have a fold in the middle: to put the
flocking back into the jar.
6. Drying in a place out of reach for pets. Be careful not to touch the wet
sealer/flocking! Mod Podge takes about 3 hours to dry completely.
(I think the top of my cabinet needs dusting...)
7. If you use Mod Podge as your sealer like me you will see it's completely dry
when it's clear. You can see the body color through the flocking.
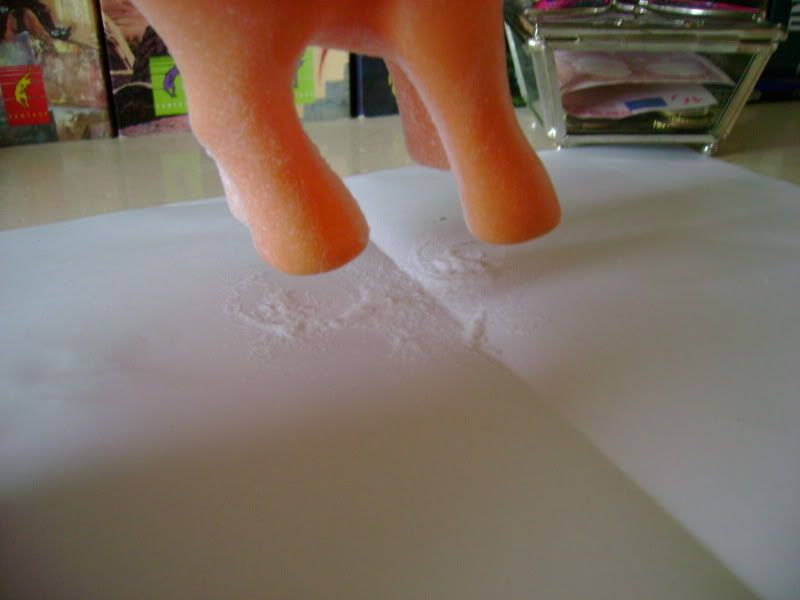
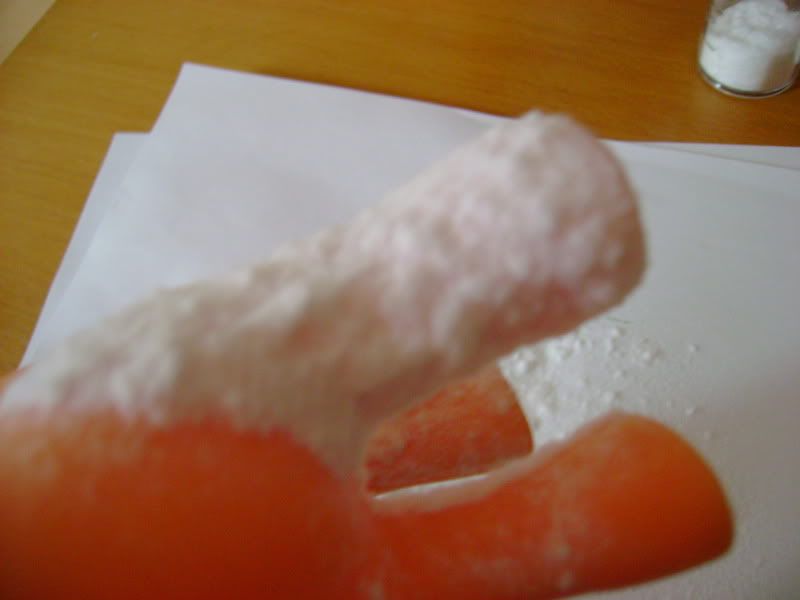
8. Tap off the last bit of excess flocking. In this case just stamping the
pony's hooves on the paper.
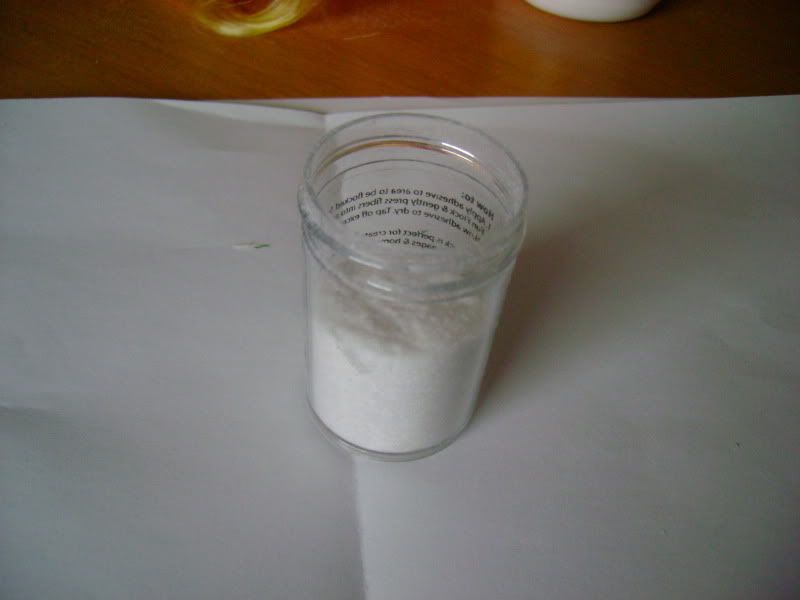
You can put this flocking back into the jar again as shown before.
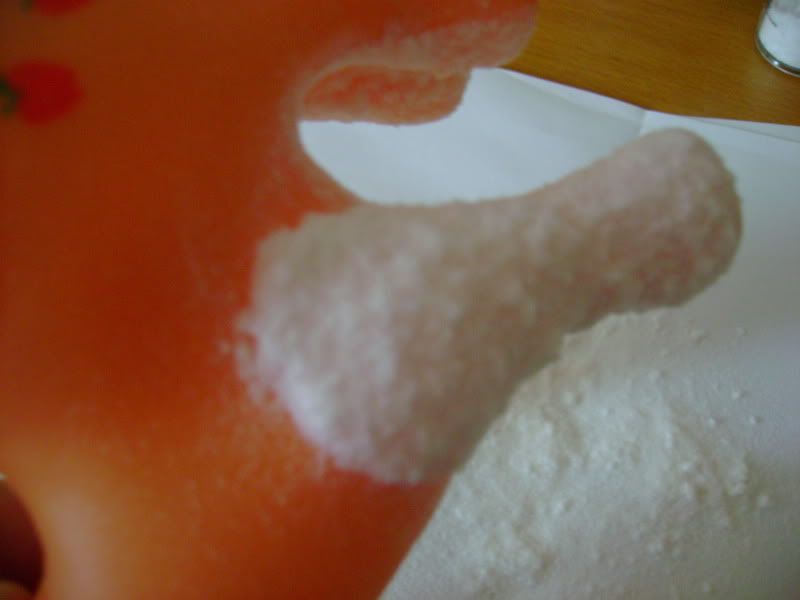
9. Here's what your flocking will look like. It's very soft to the touch.
You can see some stray flocking on the rest of the body, you can whipe this off
or blow it.
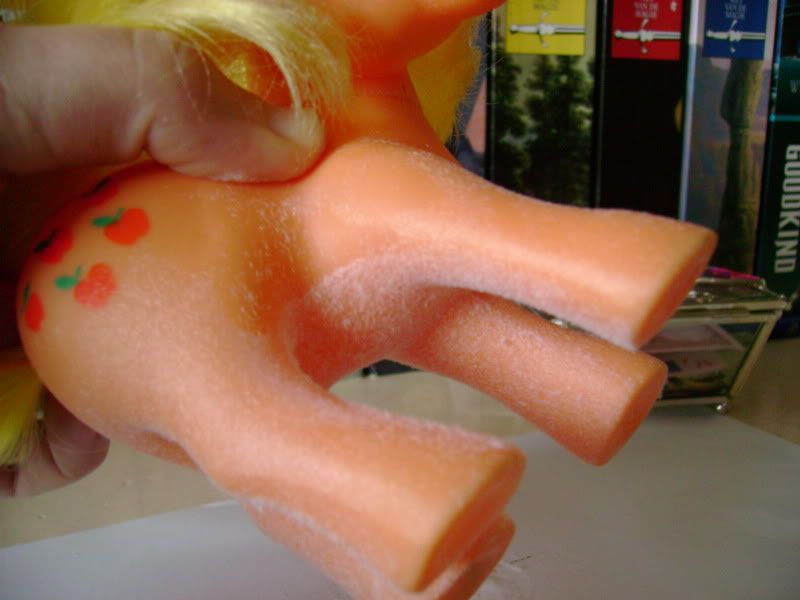
10. Adding patches at a time and following the lines of the body. Overlapping the
outer edges of the patch makes sure you don't get big seams in the end.
But be careful when letting it dry! Too much sealer can cause drips and make
hard edges between the patches.
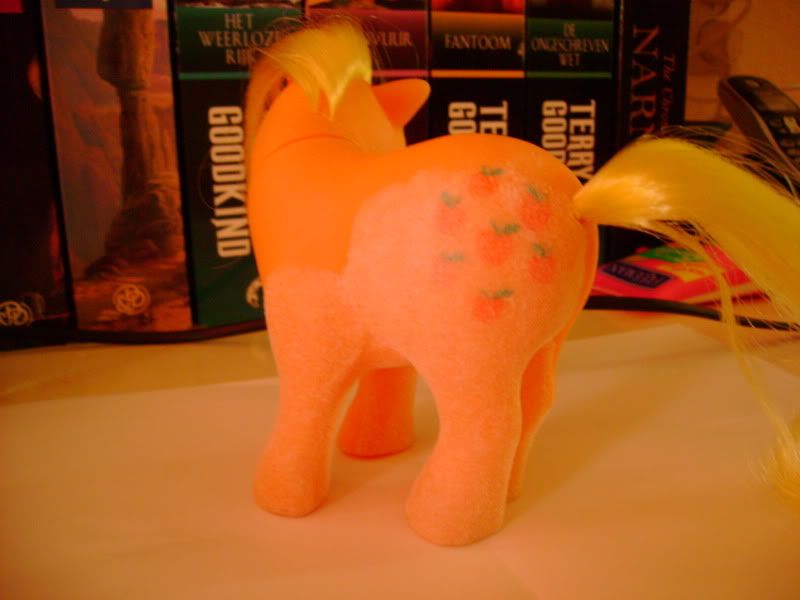
11. Non-display side legs are done. This is 3 patches: bottom, front leg and
back leg/rump.
I make patches so it's easier to let it dry and to hold her.
12. Another drying session. As mentioned before be careful with adding too much
sealer. I had a drip happening here under the tail!
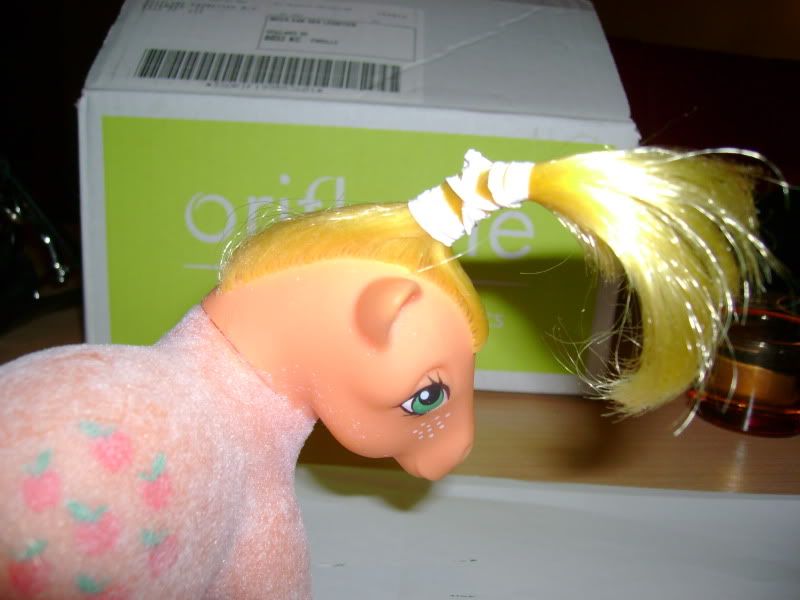
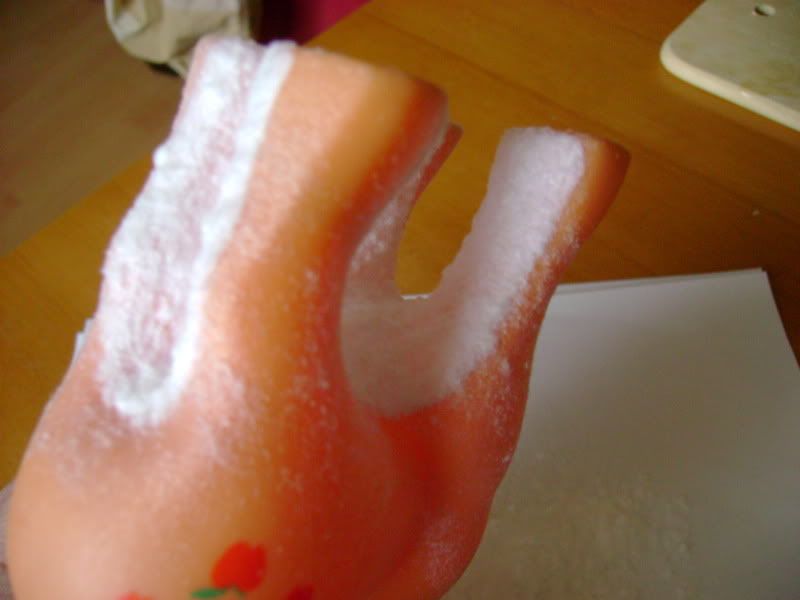
13. The body is all done. Before flocking the head you should tie all the hair
together so it doesn't get stuck in the sealer.
You can do this with the tail too if you make different patches or if you have
unruly hair on your pony.
Patches: bottom, nds front leg, nds back leg/rump, ds back leg/rump, ds front
leg and back/neck/chest.
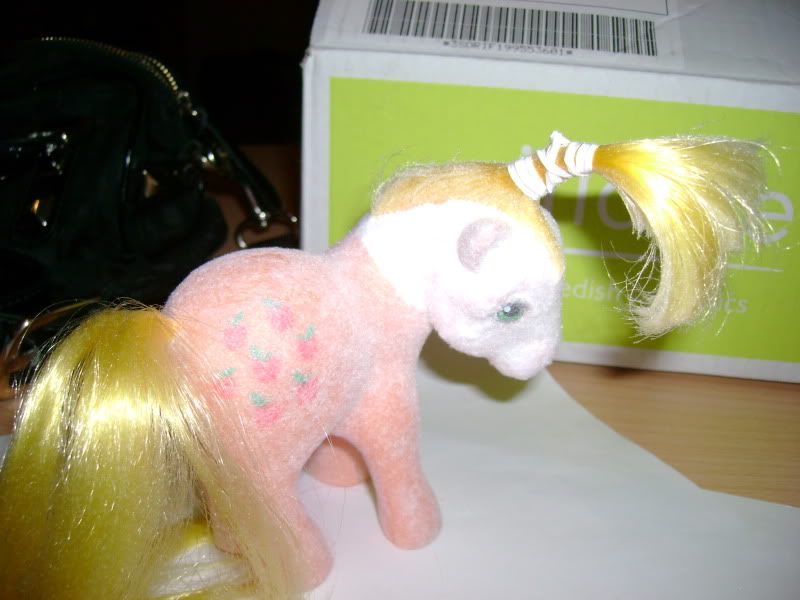
14. I did the whole head in 1 go. Adding flocking to one bit while leaving the
edge unflocked and went on with adding sealer from the edge etc.
This is kindda tricky but it also ensures you don't get any seams on the head.
There are a lot of lines in the face you can use for hiding seams though.
Make sure you don't put any sealer on the eyes.
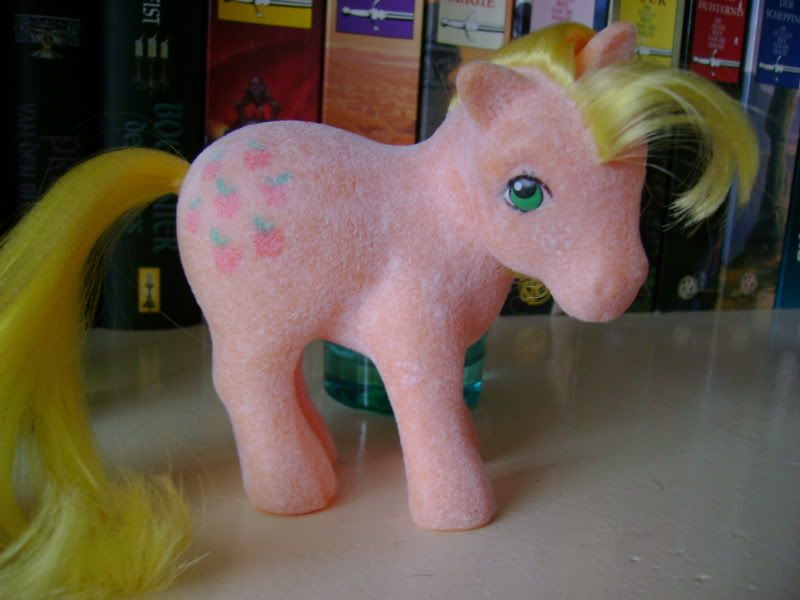
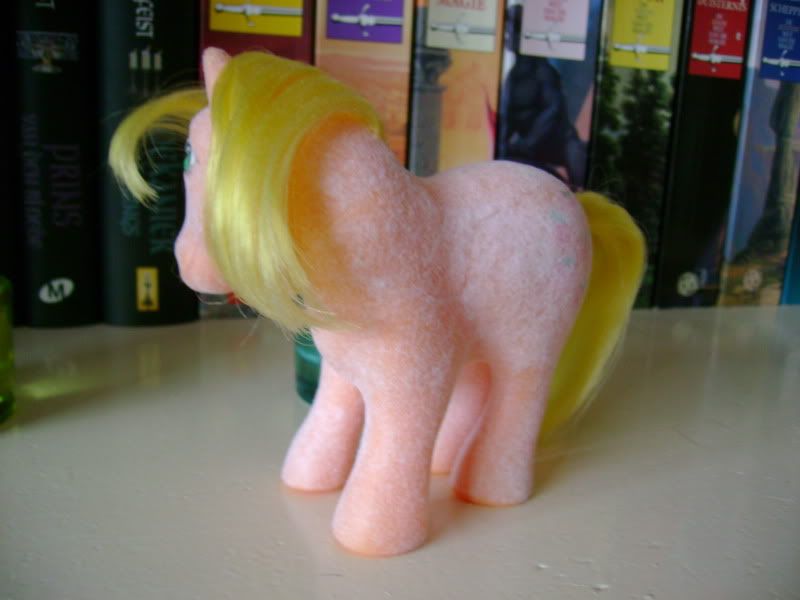
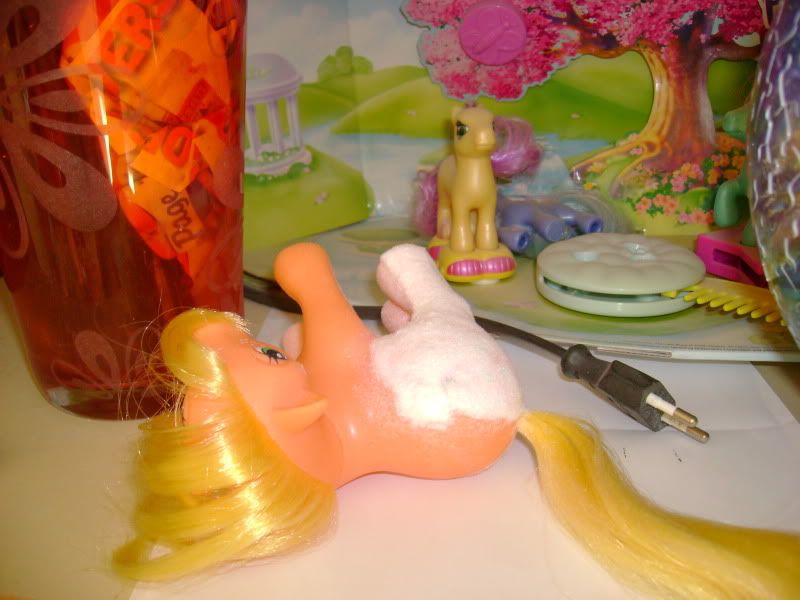
15. The pony is all done. Except... her feet!
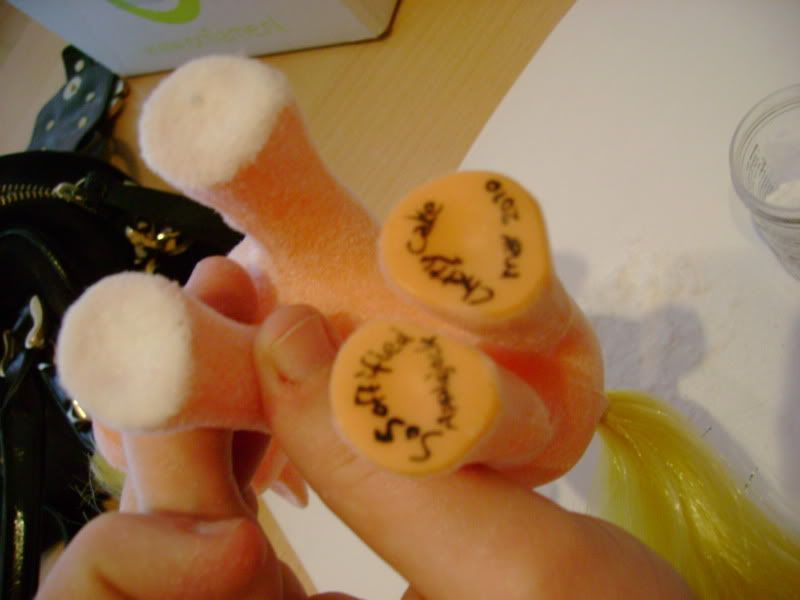
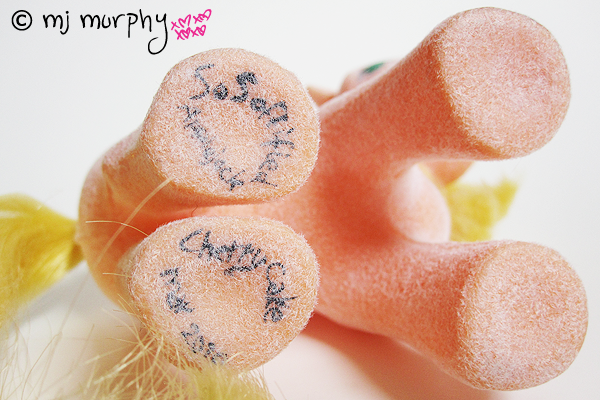
16. Sign your pony and add sealer/flocking over it. Dry upside down :-)